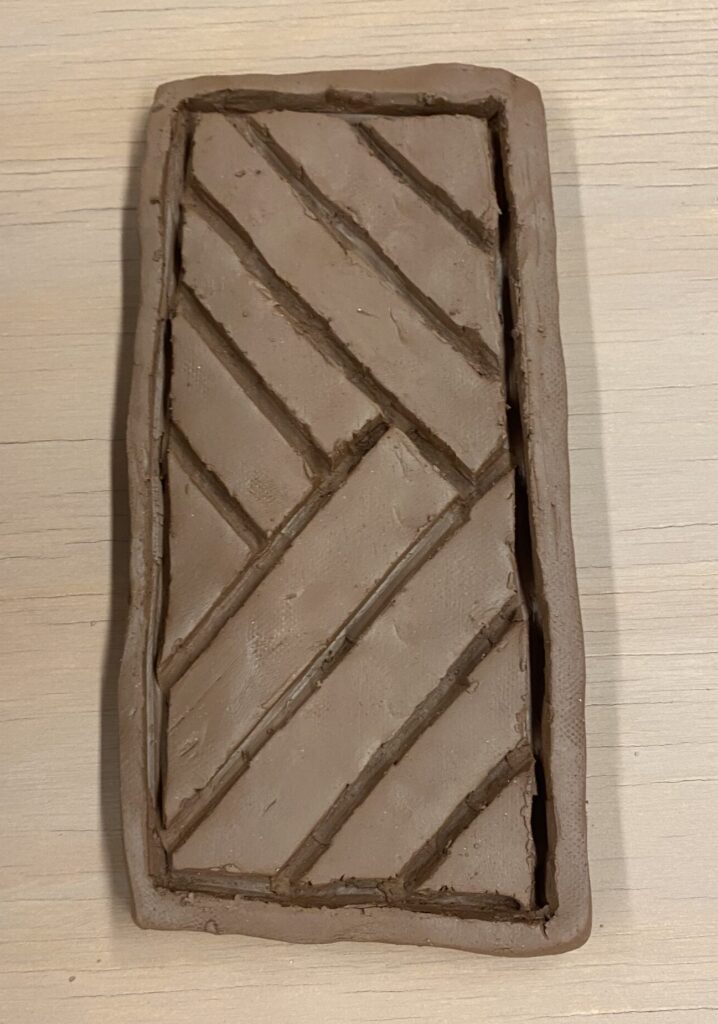

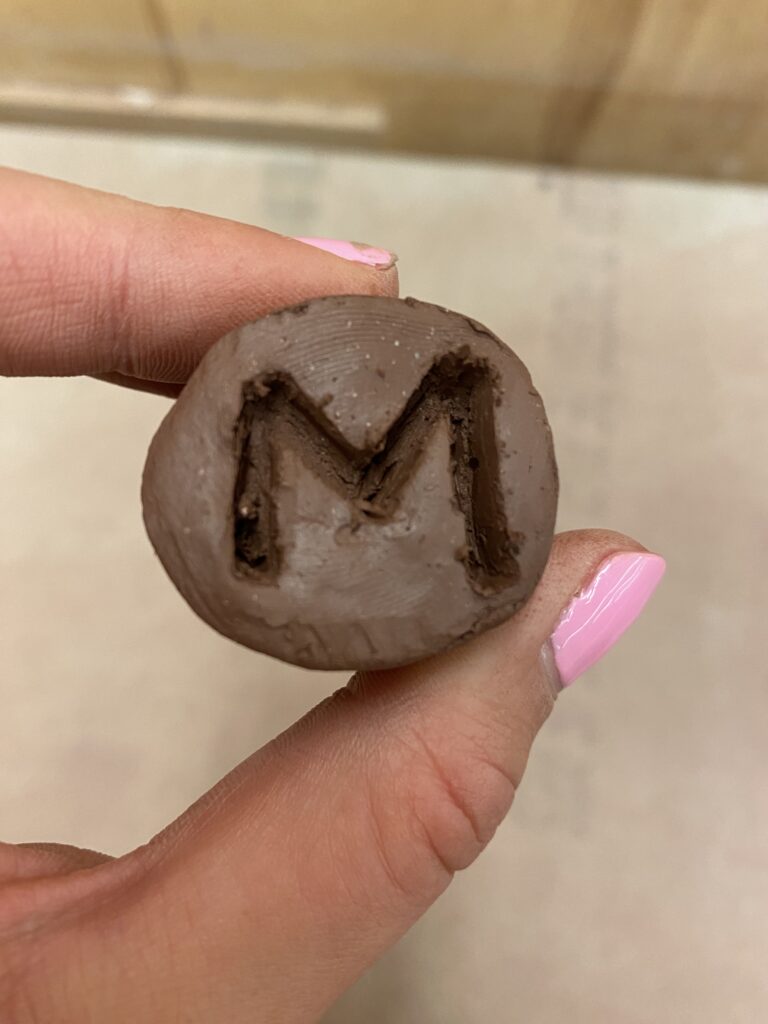
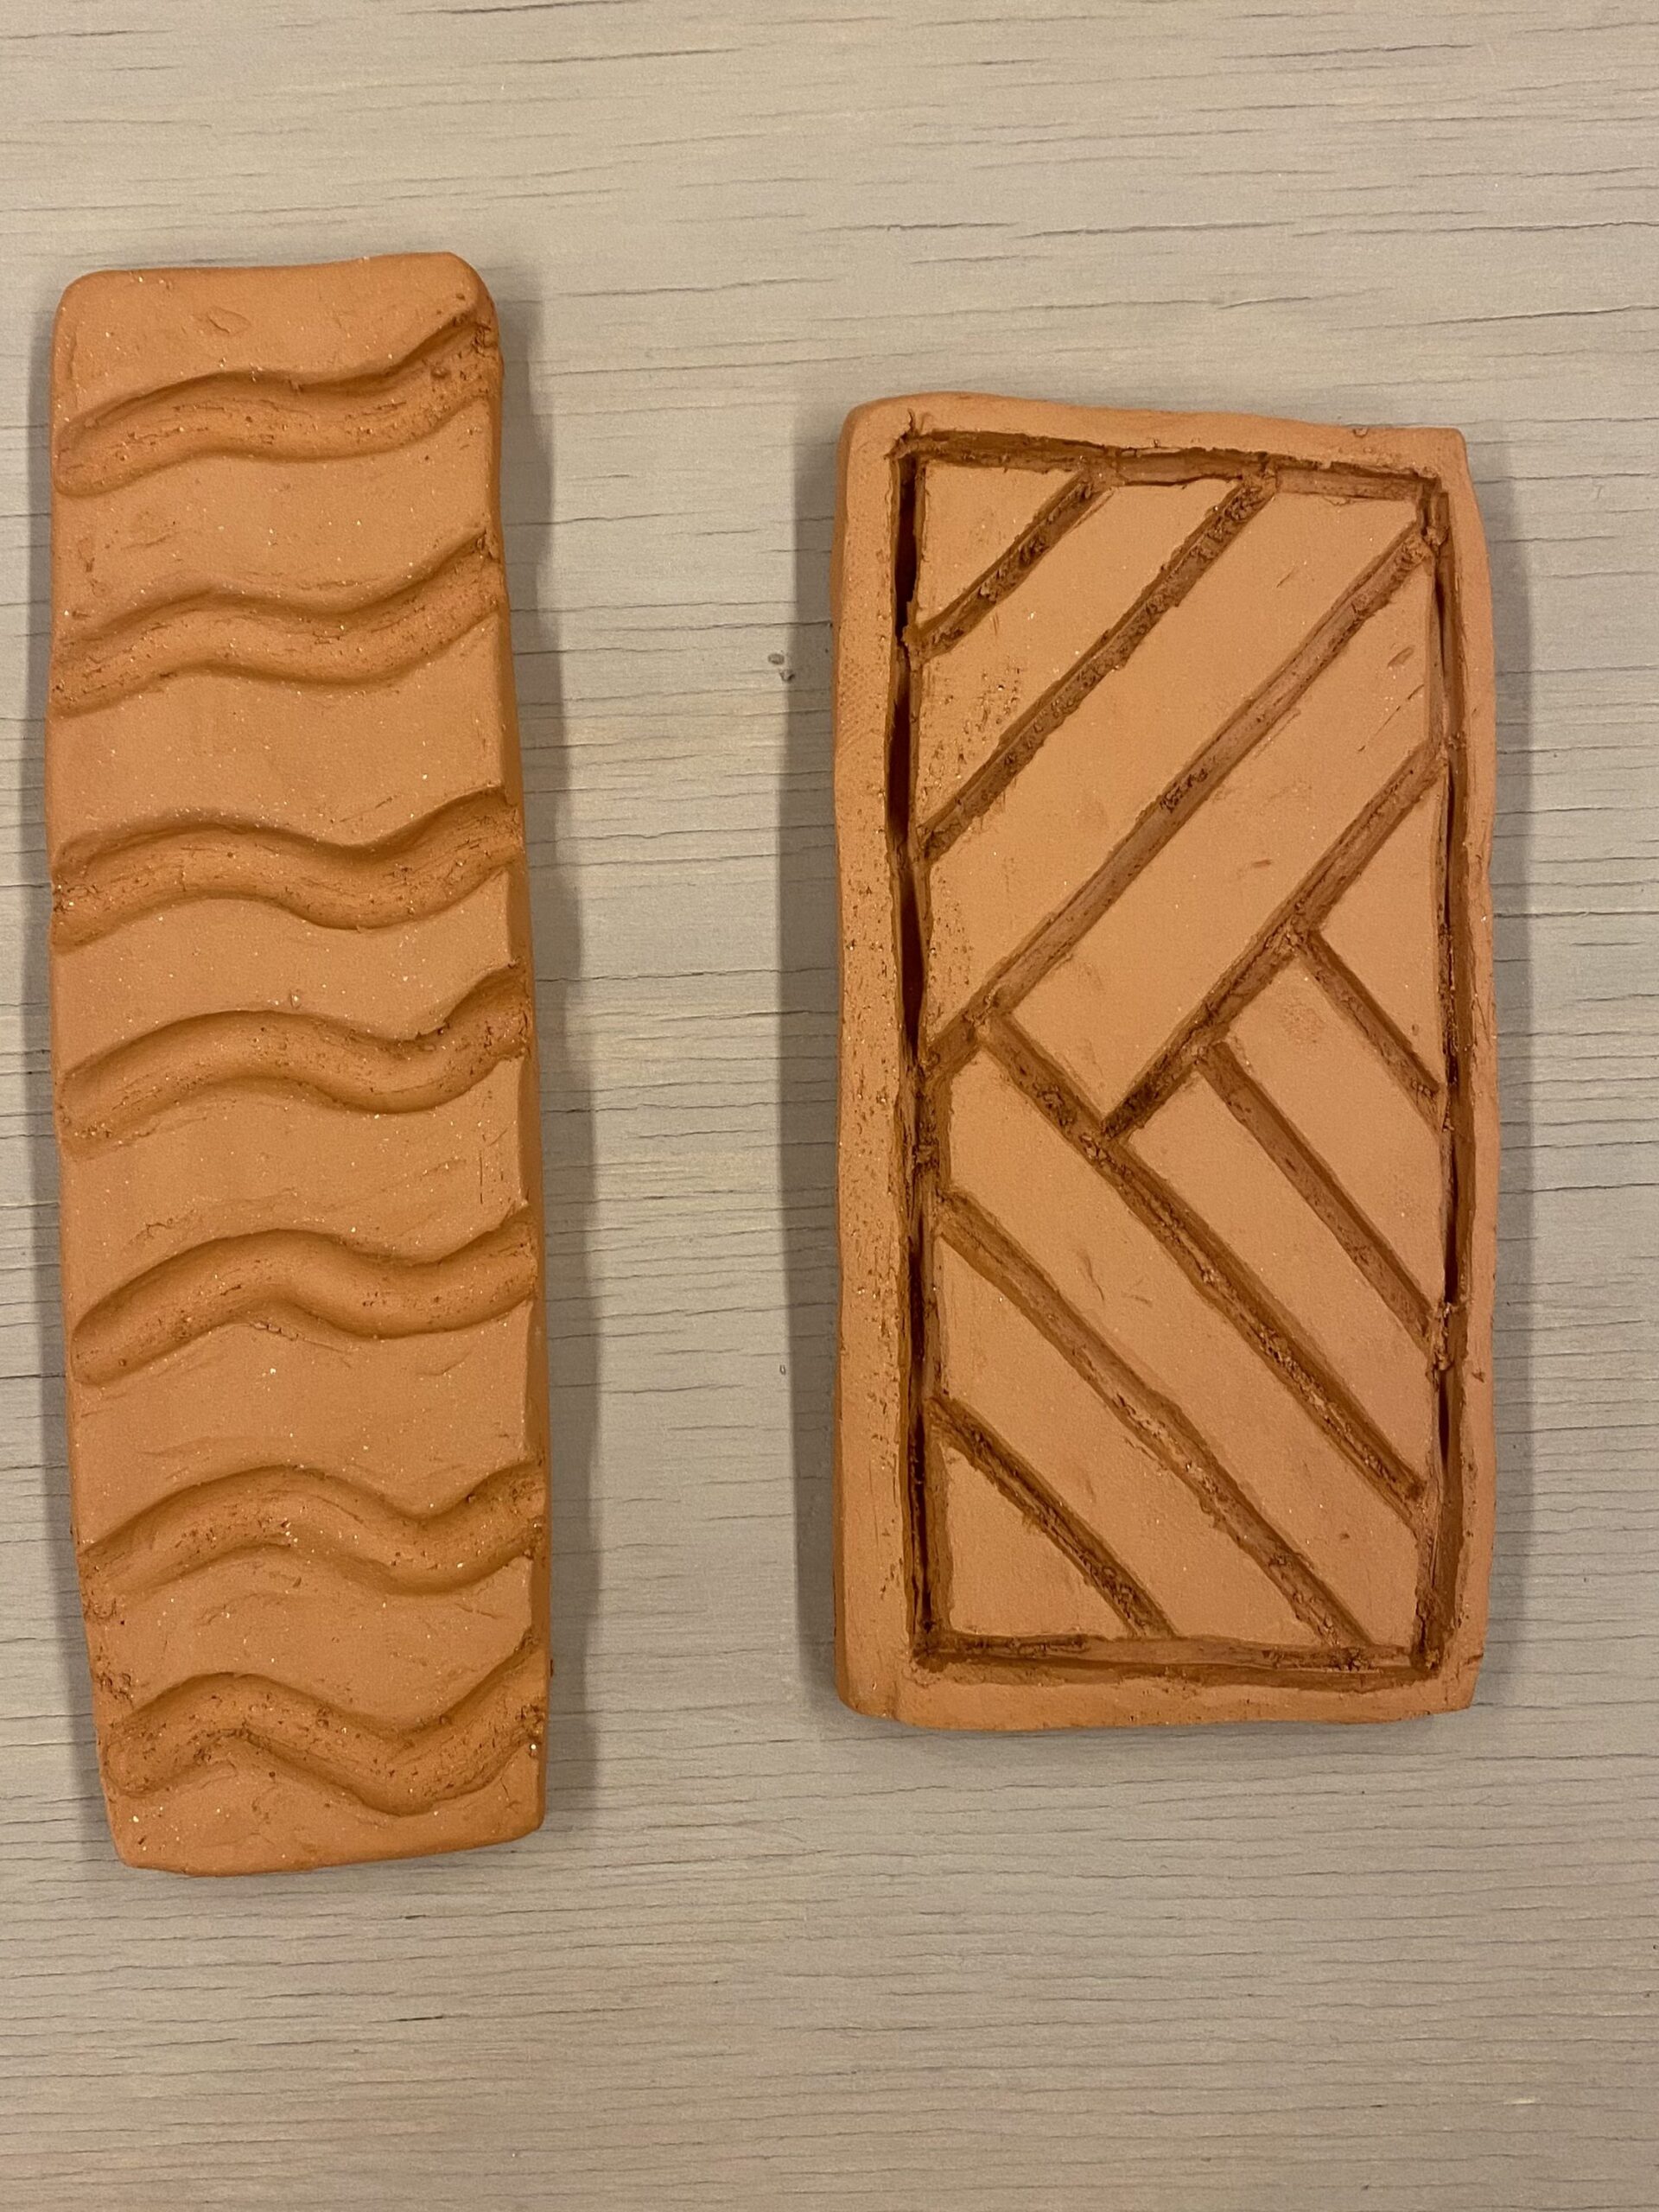
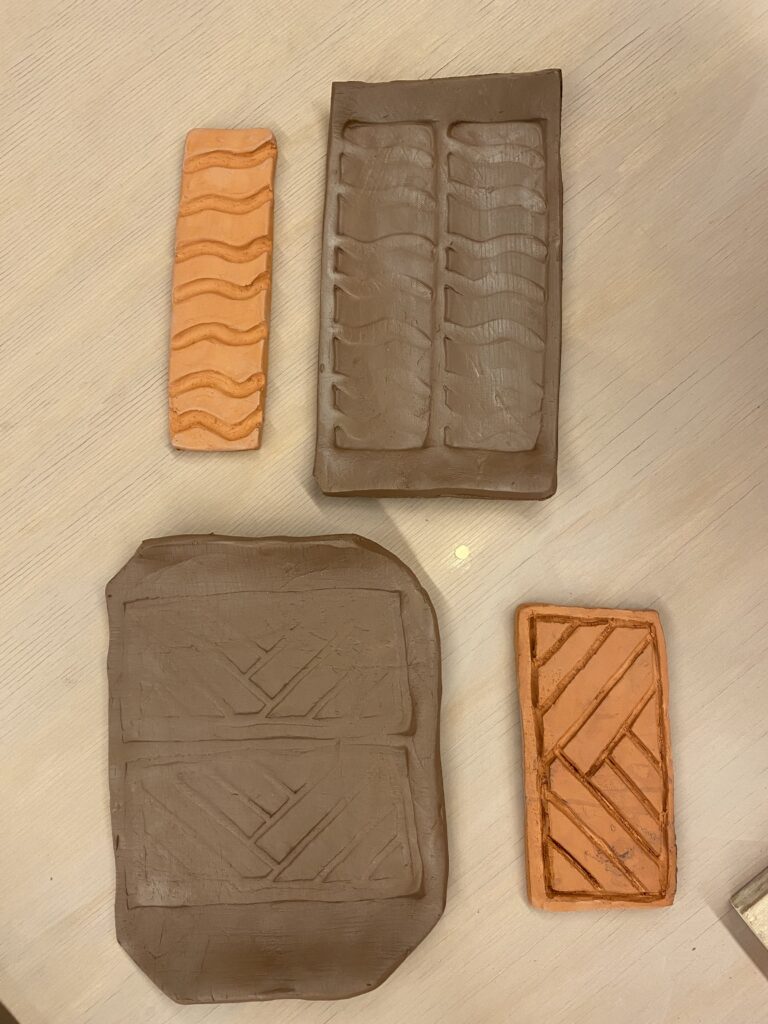
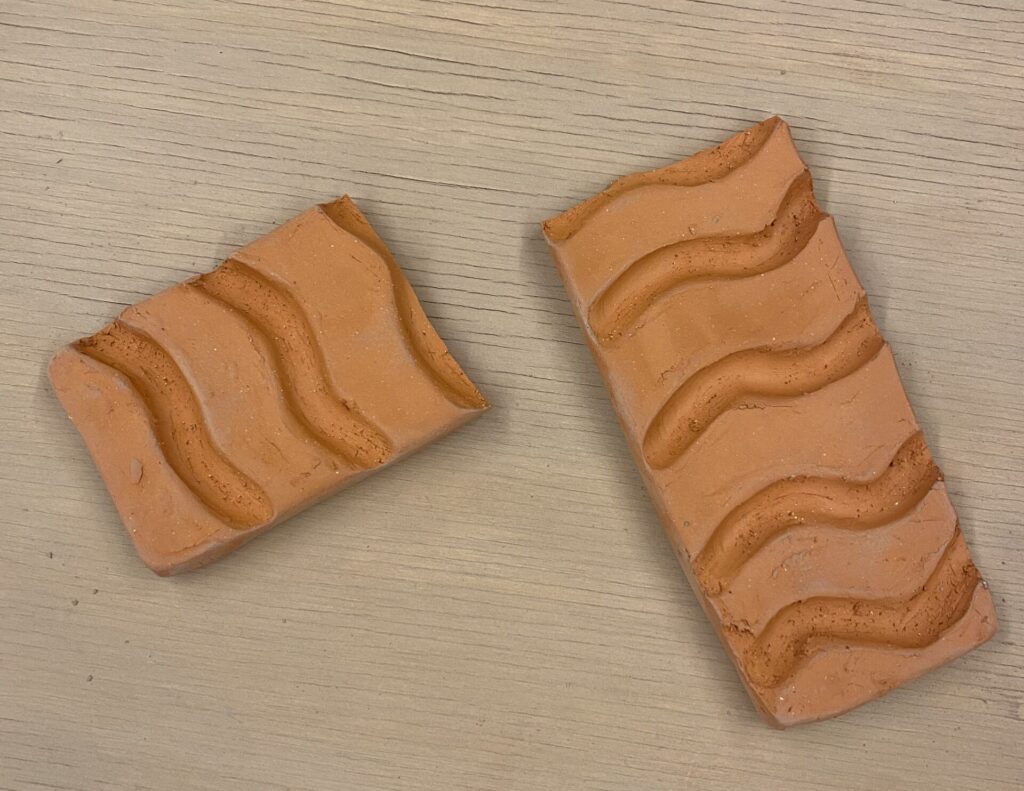
These are images of my textured tiles and stamps I made to use on my press plates. I started by making two tiles with different line designs on the them. Both rectangle shaped one thinner than the other. The thinner one with squiggle lines broke during my preliminary plate because I used to much force when I pushed it into the clay. I was still able to use it on my final set. For the stamps I was able to roll a piece of clay and use both sides as one stamp. I used a tool to make an ‘M’ and I kept the other side as a spiral. All my stamps worked well and came out clear when used in the clay.
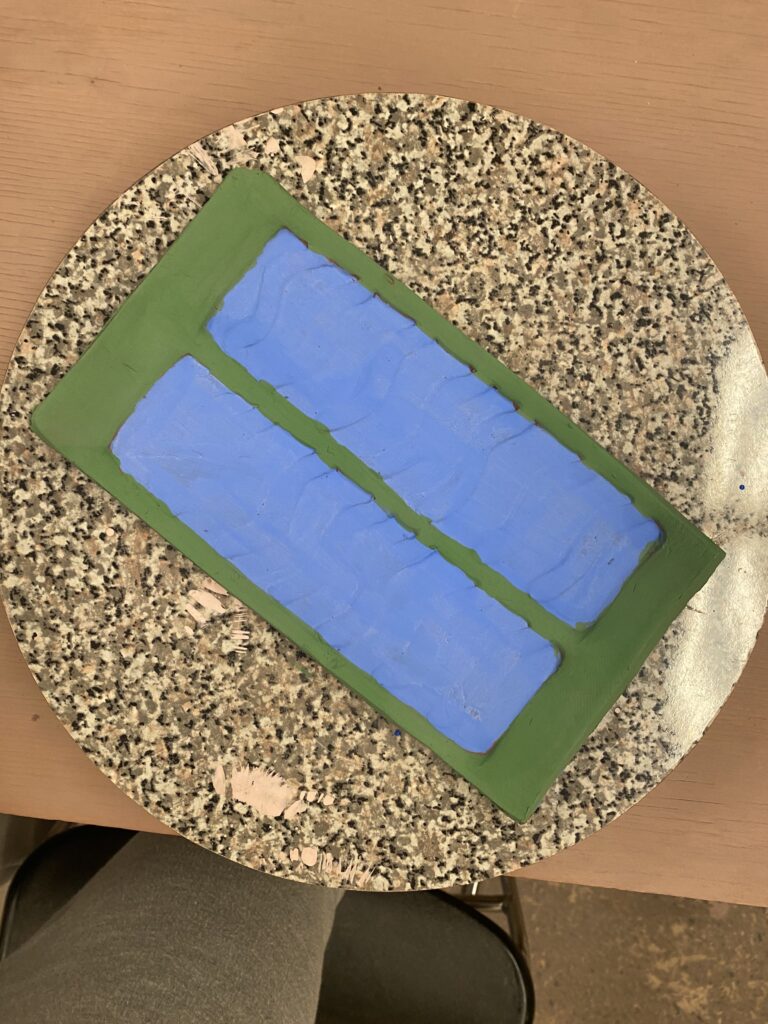


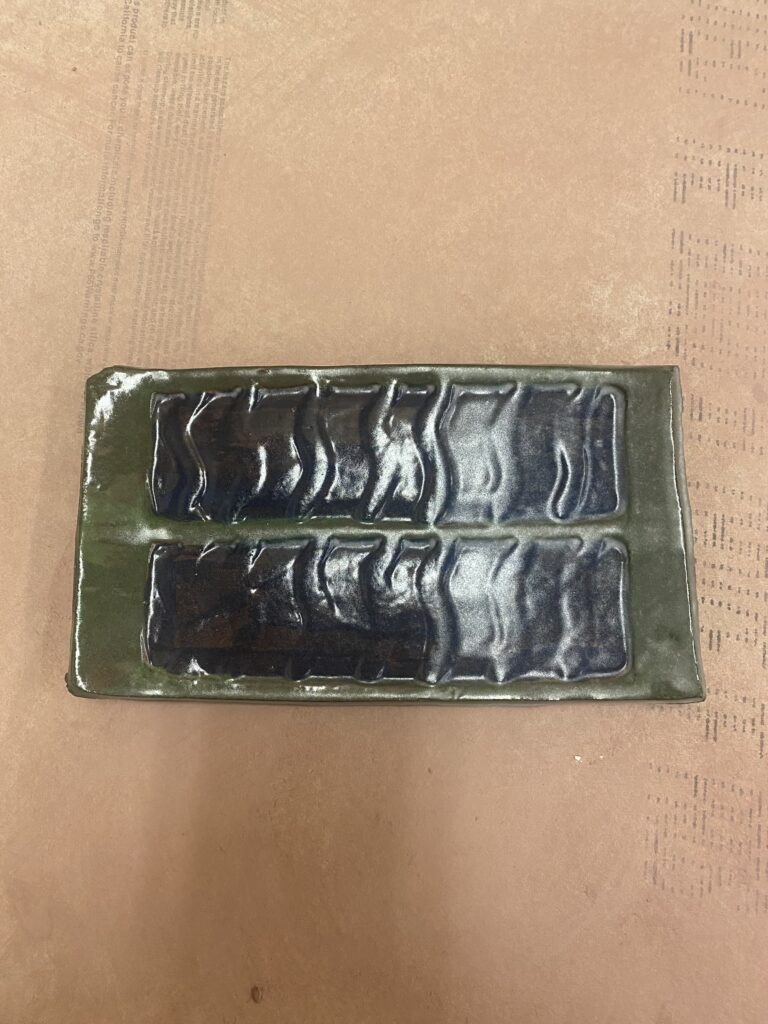


This is my preliminary set of plates. I used the two tiles I made to press into the leather hard slab. I was testing out design and color with both plates. I used the same two underglaze colors but chose to do different methods when painting it on. One has a half and half color and one has blue underglaze on the area I used the press plate and green underglaze where I did not. I added before underglaze pictures above, I also added a picture once they were under glazed and after to compare the color difference after coming out of the kiln. I also added a picture of the bottom after using wax resistance on it. It did not have any glaze on it and was rough to touch. This was a lesson and I did things different on my final set. There were no shape edges, cracks and there did not seem to be any cracks within the color. Overall, I was able to test my stamps, underglazes, shapes of plates and how well my plates held up, all in preparation to put together my final set.

Leave a Reply